Customizing Windows 11
Welcome to the ultimate guide for customizing Windows 11! With its sleek design and new features, it’s no surprise that many users are excited about Microsoft’s latest operating system. However, with so many options and settings available, it can be overwhelming to figure out how to best personalize your Windows 11 experience. In this article, we will delve into the best ways you can customize Windows 11 to suit your needs and preferences.
Getting Started with Windows 11 Customization
Before we dive into the different customization options, let’s first understand how to navigate the settings in Windows 11. To access the settings, simply click on the Start menu and then click on the gear icon. This will open the Settings app, where you can find all the customization options. You can also use the search bar to quickly find a specific setting.
Personalizing Your Desktop
One of the easiest ways to make Windows 11 feel like your own is by personalizing your desktop. Here are some ways you can do that:
- Change your wallpaper: To change your wallpaper, right-click on the desktop and select “Personalize.” From there, you can choose from a selection of pre-installed wallpapers or browse for your own images.
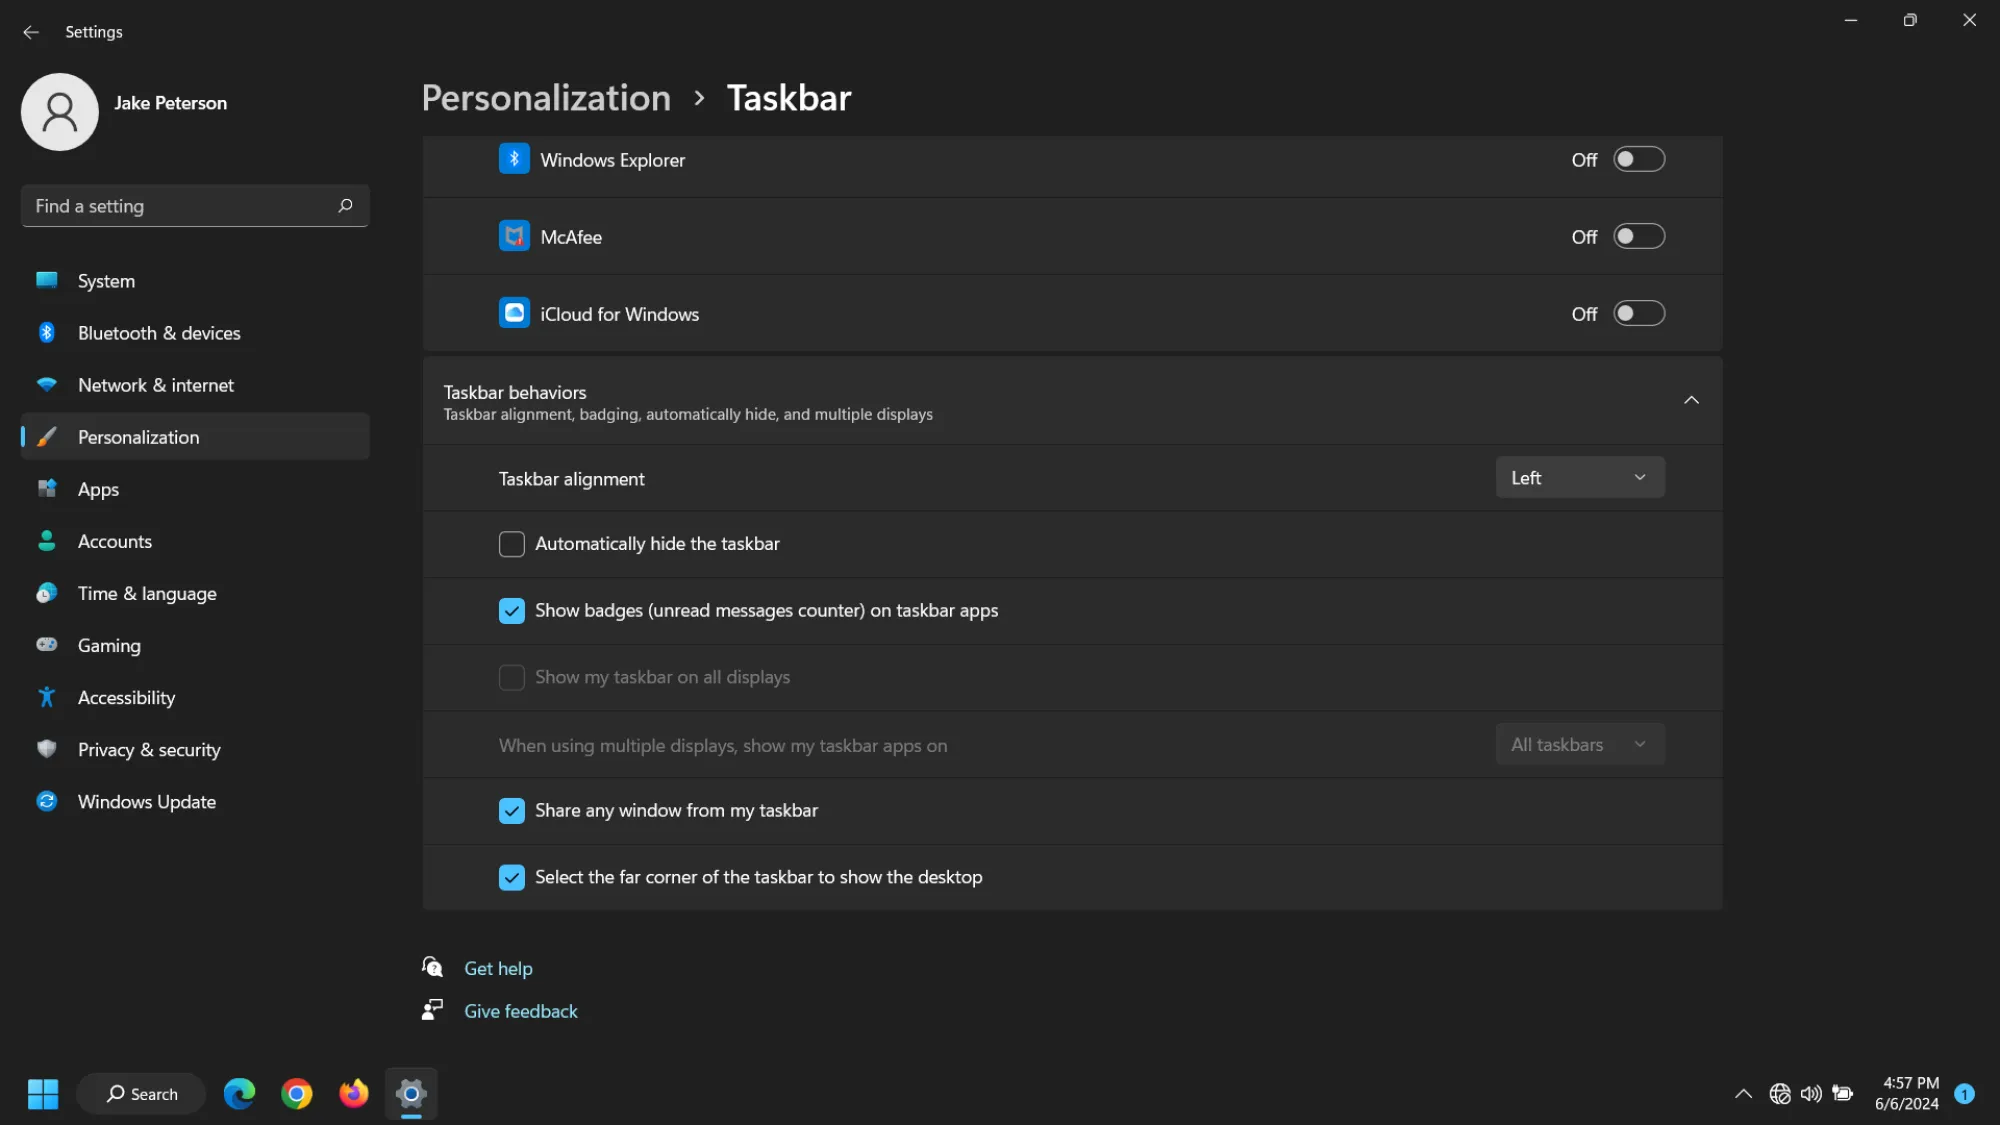
- Customize the taskbar: Windows 11 allows you to move the taskbar to either the bottom, left, or right side of the screen. You can also resize it by clicking and dragging on the edges. If you prefer a cleaner look, you can also hide the taskbar when it’s not in use.
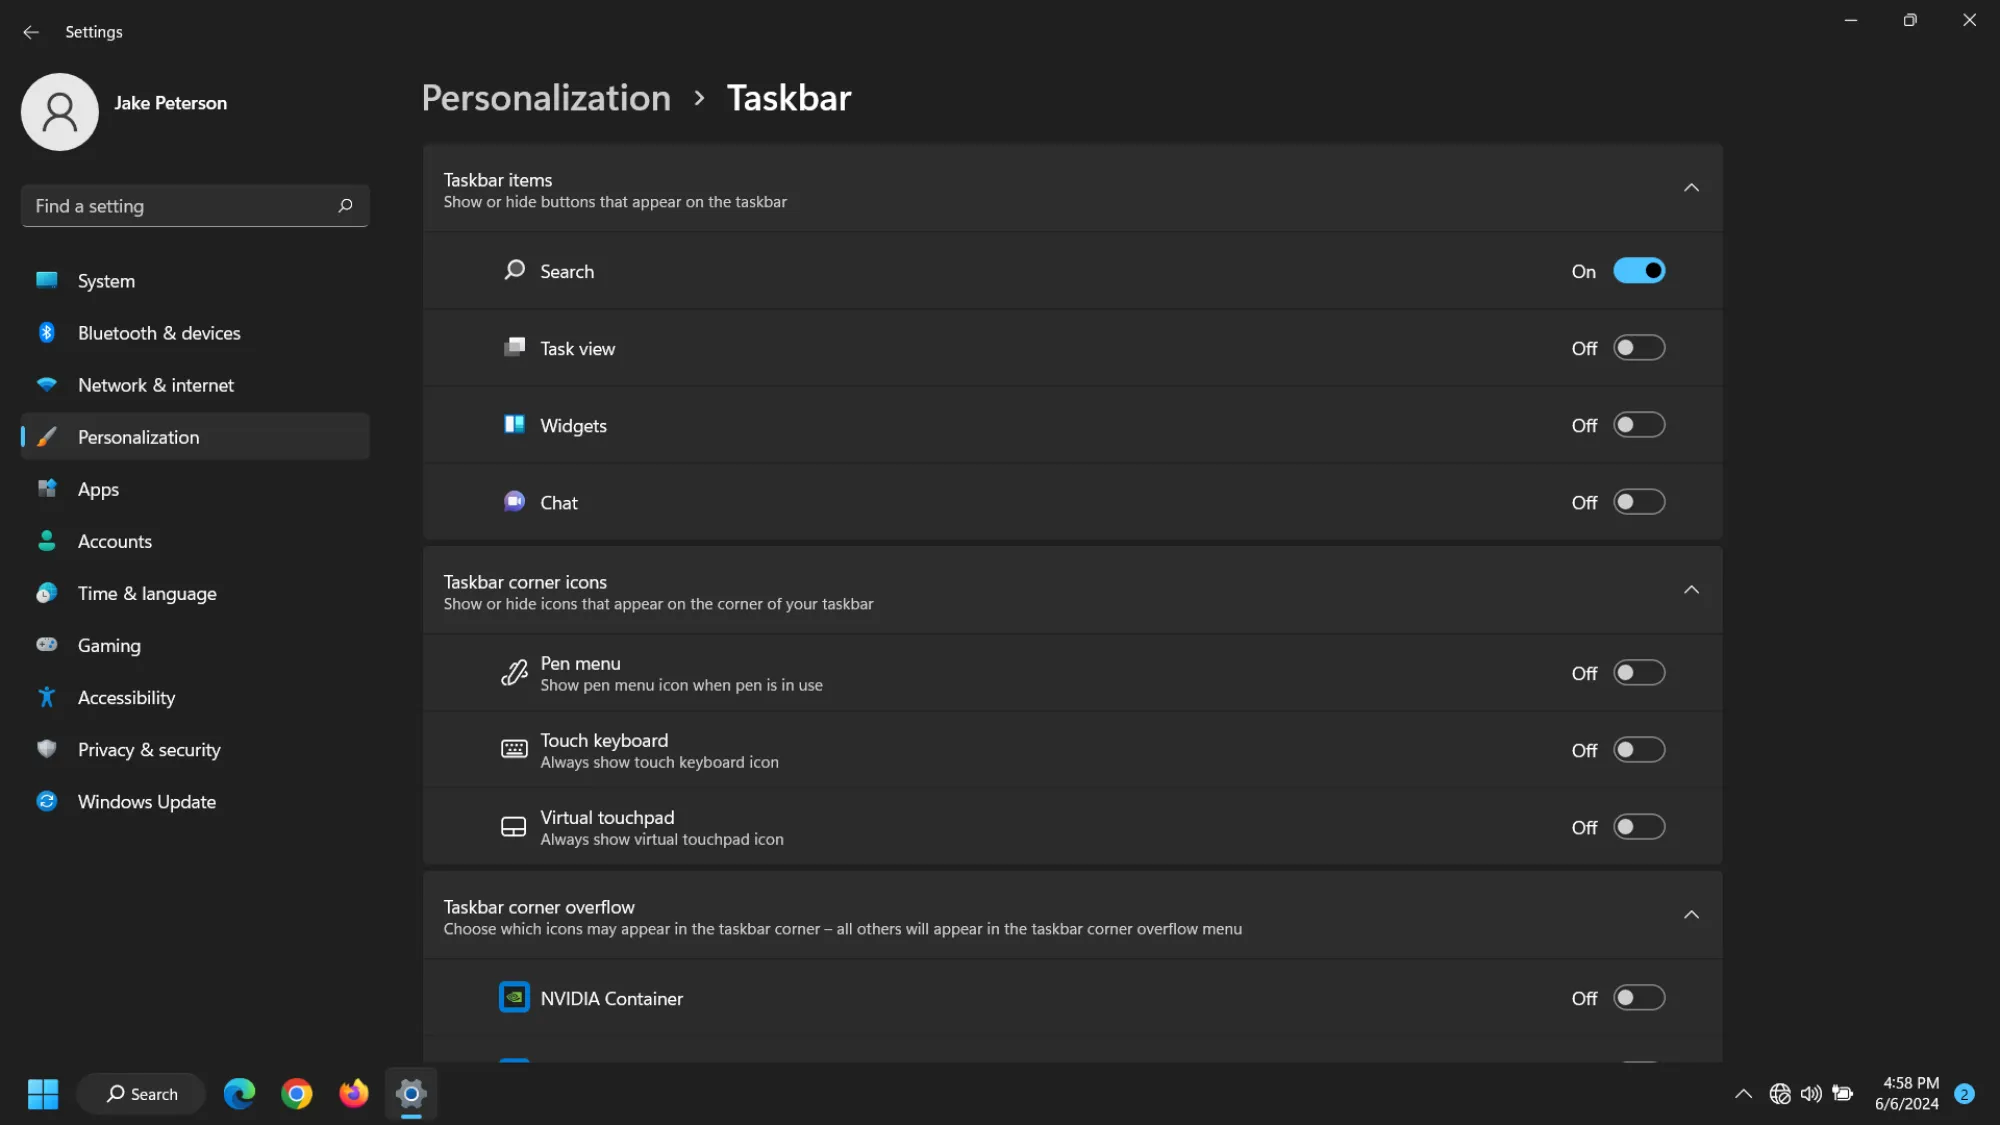
- Add widgets: Widgets are a new feature in Windows 11 that allows you to access news, weather, and other information right from your desktop. To add widgets, click on the “Widgets” button on the taskbar and choose which widgets you want to display.
Changing the Start Menu
The Start menu has undergone a major overhaul in Windows 11, making it more customizable than ever before. Here are some ways you can make the Start menu your own:
- Choose which apps to display: By default, the Start menu will show your most frequently used apps and recently installed ones. However, you can choose to only show specific apps by right-clicking on them and selecting “Pin to Start.”
- Customize the layout: You can resize and rearrange the tiles on the Start menu to your liking. You can also group them together into folders for a cleaner look.
- Change the color scheme: The new Start menu allows you to choose from different color schemes. To change the color, go to Settings > Personalization > Colors.
Customizing Your Taskbar
The taskbar is an essential part of the Windows experience, and luckily, Windows 11 offers many options for customizing it. Here are some ways you can personalize your taskbar:
Changing the Taskbar Appearance
As mentioned earlier, you can move and resize the taskbar to your liking. But did you know you can also change its appearance?
- Change the color: Similar to the Start menu, you can change the color of your taskbar by going to Settings > Personalization > Colors.
- Customize the icons: You can choose which icons appear on the taskbar by right-clicking on them and selecting “Unpin from taskbar.” You can also rearrange the order of the icons by clicking and dragging them.
- Use small taskbar buttons: If you prefer a more compact taskbar, you can enable small taskbar buttons by going to Settings > Personalization > Taskbar and turning on “Use small taskbar buttons.”
Taskbar Toolbars
Taskbar toolbars are a handy feature that allows you to access frequently used files and programs quickly. Here’s how to set them up:
- Right-click on the taskbar and select “Taskbar settings.”
- Scroll down to the “Taskbar toolbars” section and click on “Add a toolbar.”
- Choose the folder or file you want to add as a toolbar.
Task View and Virtual Desktops
Task View and virtual desktops are two features that can help improve your productivity by allowing you to organize your open windows and applications. Here’s how to use them:
- Task View: You can access Task View by clicking on the “Task View” button on the taskbar or by pressing Windows + Tab on your keyboard. This will show you all your open windows and allow you to switch between them quickly.
- Virtual desktops: To create a virtual desktop, click on the “Task View” button and then click on “New Desktop.” You can switch between virtual desktops by clicking on the Task View button and selecting the desktop you want to switch to.
Customizing Your File Explorer
The File Explorer is where you manage all your files and folders in Windows 11. Here are some ways you can make it more personalized and efficient:
Changing the Default Folder
By default, when you open File Explorer, it will display your Quick Access folder. However, you can change this to any folder of your choice. Here’s how:
- Open File Explorer and navigate to the folder you want to set as the default.
- Right-click on the folder and select “Pin to Quick Access.”
Using the Ribbon Menu
The Ribbon menu is a handy feature that allows you to access various options while browsing through your files. Here are some tips for using the Ribbon menu:
- Show or hide it: You can toggle the Ribbon menu on or off by clicking on the arrow icon on the top-right corner of the window.
- Customize what appears: You can choose which options appear on the Ribbon menu by right-clicking on it and selecting “Customize Quick Access Toolbar.” From there, you can add or remove options.
- Use keyboard shortcuts: The Ribbon menu also has keyboard shortcuts that allow you to quickly access certain functions. For example, pressing Alt + H will take you to the Home tab on the Ribbon menu.
Personalizing Your Notifications and Actions Center
The Notifications and Actions center is where you receive notifications from your apps and have quick access to various settings. Here’s how you can customize it:
Managing Notifications
Windows 11 allows you to control which apps can send you notifications and how they appear. To manage notifications, go to Settings > System > Notifications & actions.
- Choose which apps can send notifications: You can enable or disable notifications for each app individually by turning the toggle switch on or off next to their names.
- Customize notification settings: Clicking on an app will allow you to choose what type of notifications you want to receive from them.
- Change the appearance: You can also choose how notifications are displayed by going to Settings > Accessibility > Visual effects > Notification duration.
Customizing the Quick Actions
The Quick Actions section is where you can access commonly used settings such as brightness, Wi-Fi, and Bluetooth. You can customize this section by right-clicking on any icon and selecting “Edit quick actions.”
- Rearrange the order: You can click and drag the icons to rearrange them in the order you prefer.
- Add or remove quick actions: You can add more quick actions by clicking on “Add” at the bottom of the page. You can also remove any action by clicking on the “x” icon next to it.
Advanced Customization Options
If you’re looking to take your customization game to the next level, here are some advanced options you can try:
Using Registry Editor
The Registry Editor is a powerful tool that allows you to make changes to your system’s settings. However, it’s important to note that making changes to the registry can have serious consequences if not done correctly. If you’re not familiar with how the Registry works, it’s best to avoid using it.
- To access the Registry Editor, press Windows + R on your keyboard to open the Run dialog box. Type in “regedit” and press Enter.
- From there, you can navigate through the different folders and make changes to the values.
Installing Custom Themes
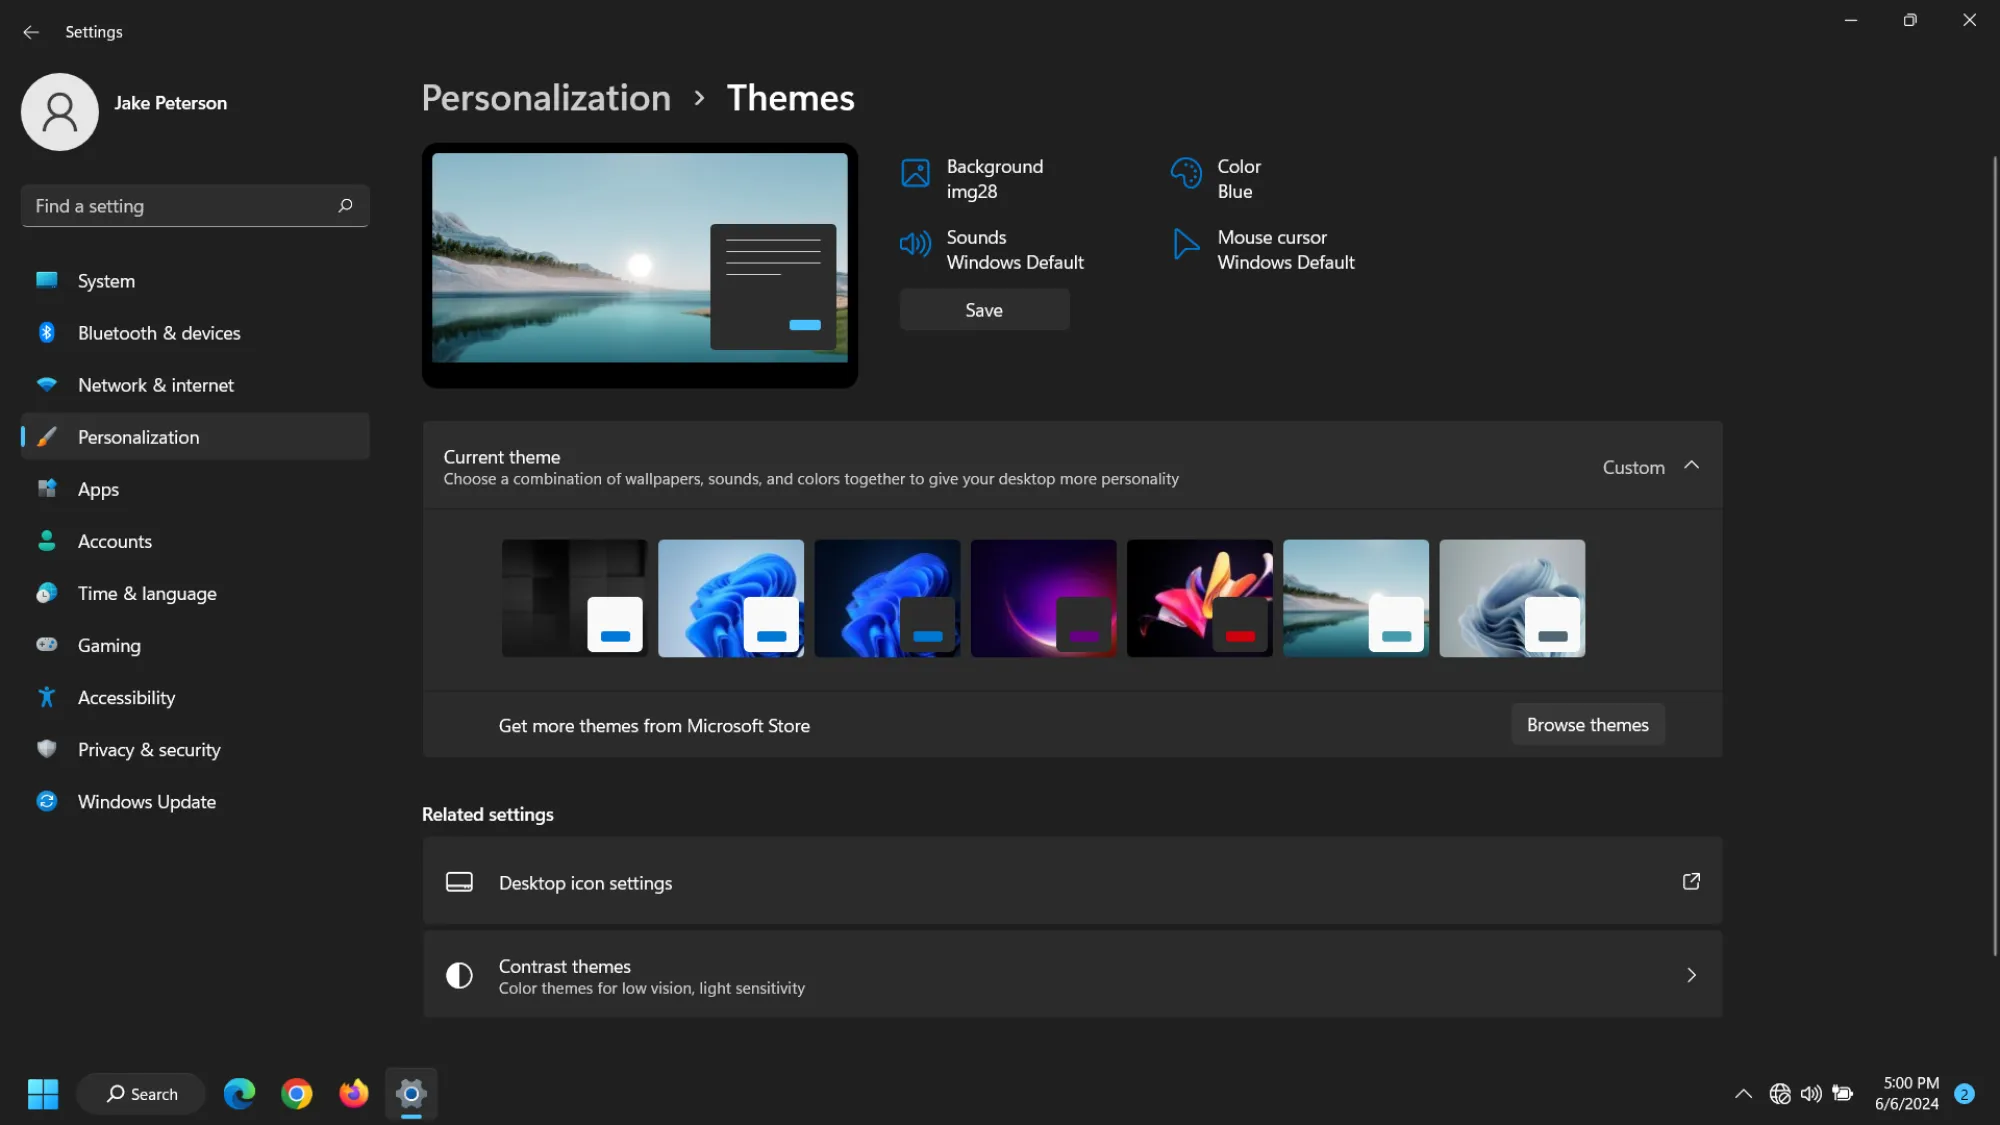
Windows 11 comes with a selection of built-in themes that you can choose from. However, if you want to take your customization to the next level, you can install third-party themes. Here’s how:
- Download a custom theme from a trusted website.
- Install a tool called “UltraUXThemePatcher.”
- Once installed, copy the downloaded theme to C:\Windows\Resources\Themes.
- Go to Settings > Personalization > Themes and select your custom theme.
Using Third-Party Software
In addition to custom themes, there are also many third-party software options that can help you customize Windows 11 even further. These include programs that allow you to change the icons, fonts, and even the overall look and feel of the operating system. Some popular ones include Rainmeter, Winaero Tweaker, and StartIsBack.
Conclusion
By now, you should have a good understanding of the various customization options available in Windows 11. Whether you want to change the appearance of your taskbar or completely overhaul the look and feel of your system, there are plenty of options to choose from. We hope this guide has helped you personalize your Windows 11 experience to your liking. Remember to always be careful when making any changes to your system and have fun exploring all the different ways you can make Windows 11 your own.